2019
Download and install QGIS. Install from here. For more help on the installation process see The Programming Historian’s tutorial(review the section on installation).
Once QGIS is installed, open it and open a new project.
Save the project, giving it a name like “Americas”.
When starting a project in QGIS it is important to decide on a projection system before beginning. To view some global maps we will begin by using the “Pseudo-Mercator” projection as most web server maps we will import into QGIS use pseudo-Mercator as their default projections. In a subsequent lesson we will choose a more apt projection for looking at particular regions of the world.
To set the projection:
In QGIS, click on the Project menu and then select Properties.
Select the CRS tab in the Project Properties window.
Identify what the current Coordinate Reference system (CRS) is by looking at the “Selected CRS” box.
The default CRS is probably “WGS 1984.” To change it to Pseudo-Mercator type in “pseudo” in the filter bar. Hit enter. Now select the “WGS 84 / Pseudo-Mercator” CRS. Press OK.
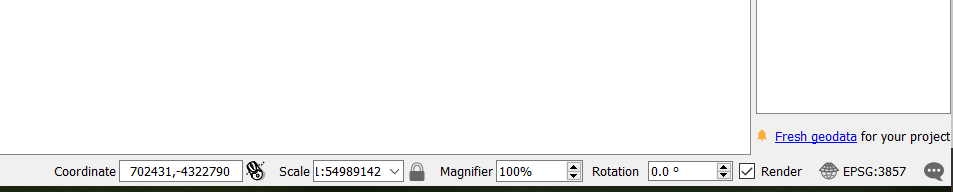
To check the CRS close the Project Properties window. Now from the main QGIS window look at the information bar along the bottom right of the screen. There you will find some useful information (the current coordinate of your mouse, the scale, the degree of magnification and rotation, etc.). At the end you will also see the curent CRS. If its says EPSG:3857 then you have correctly set the projection as Pseudo-Mercator.
In GIS, you may overlay a wide variety of different spatial layers from transportation networks to towns, and political and administrative borders. In most cases, you will want to begin with a base map. QGIS offers a plugin or add-on that allows you to use a variety of global and regional base maps. The instructions below explain how to import these base maps.
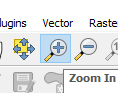
From the main menu click Plugins -> Manage and Install Plugins
Start for the word “Quick” in the SEARCH box to find the plugin “QuickMapServices.”
Install QuickMapServices plugin.

Now open the QuickMapServices plugin you just installed (Web –> QuickMapServices) to view all the available base maps to import into your QGIS project. This first time import ESRI’s Shaded Relief plugin.
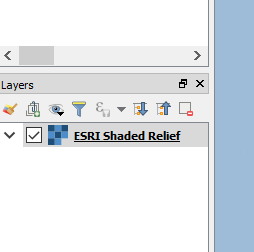
Now you have your first map layer in your project. Note, you should see the ESRI shaded relief layer in your Layer Window (if the Layer Window is not there, open it: View –> Panels –> Layers). You can then enable (check) and disable (uncheck) the layer as you see fit.
It is useful to set a “spatial bookmark” to save particular views of your map layers. For example, you may choose to save one bookmark for all of the Americas, one for just the region from Mexico to northern Argentina/Chile and then another of just one particular country. To set your first spatial bookmark:
Once you found the best view of your map layers, save it your Spatial Bookmarks panel
The Spatial Bookmarks panel should be open on the left side of the screen. If not, open it by enabling the Spatial Bookmarks panel: View–>Panels–>Spatial Bookmarks
Save your current map extents to a bookmark by clicking on the New Spatial Bookmarks button (looks like a bookmark with a little yellow star).
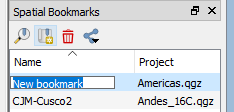
Give your new spatial bookmark a name (i.e. “The Americas”)
Test it, using the hand symbol, pan to another part of the world. Then return to your saved view of the Americas by clicking on it within the Spatial Bookmarks panel.
Now, practice creating several different spatial bookmarks, panning, zooming in, and zooming out over this map. In the next tutorial, we will learn how to add additional layers to your map.
To continue to the next tutorial select: Tutorial 2